I've never been to the spa, but I'd like to think that it's a place where people go to relax, unwind and enjoy their skin. That's why I've put together this guide on how you can get that same spa-like experience at home with just a few ingredients from your pantry and fridge.

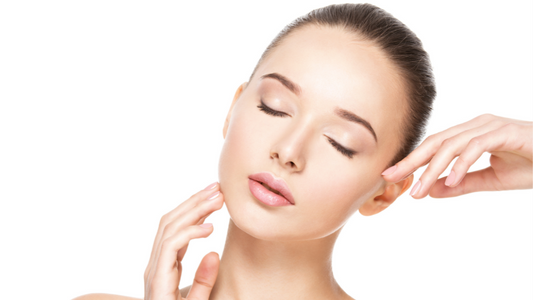
Cleanse
Cleanse your skin with a cleanser that has been dermatologist tested and allergy tested. This will ensure that you don't have any adverse reactions to the product, and it'll also help to keep your skin healthy.
Look for products with gentle surfactants (the ingredients that remove oil), like those made with cocamidopropyl betaine or sodium lauroyl sarcosinate. These are less likely to irritate sensitive skin than sulfates (sodium lauryl sulfate).
The pH of the product should be between 4-6 for optimal results; this ensures that it's not too alkaline or acidic for your face. Some people find that products with a higher pH make them break out more easily, so look out for this when purchasing facial cleansers!
Exfoliate
Exfoliating is an important part of any facial. It helps remove dead skin cells and unclogs pores, which can lead to acne or blackheads. Exfoliation can also help with dry skin, fine lines and wrinkles, dullness and uneven texture.
The best way to exfoliate at home is with a gentle scrub that won't irritate your face (and doesn't cost $100). Look for products that contain ingredients like papaya extract or fruit acids like glycolic acid; these will gently slough off old skin without irritating it further by being too harsh on the surface layer of your epidermis (the outermost layer).
If you don't want to buy a separate exfoliator from the store or if you're on vacation somewhere where there aren't any spa-like facials available, you could also use sugar as an alternative! Just mix 1/4 cup of brown sugar with enough water so that it becomes paste-like, but not runny; then apply this mixture evenly over your face using circular motions until all traces have been removed from both sides before rinsing thoroughly under warm water afterwards."
Tone
Toning is an essential step in your facial routine. It's what helps remove any leftover dirt and grime, while also balancing the pH level of your skin. Toner can be alcohol-free or contain witch hazel, aloe and glycolic acid--all great ingredients for hydrating, soothing and brightening your complexion.
Toning should be done with a cotton ball soaked in toner after cleansing, but before moisturizing (if you're going to use one). The goal here is not to dry out or strip away moisture from your face; instead it's to help balance out all those good things that were just done during cleansing so they don't get washed away!
Moisturize
- Don't forget to moisturize.
- Be careful not to use too much product, as it can clog your pores and lead to acne.
- Apply moisturizer on your neck and decollete as well as hands and feet (a good rule of thumb is that if you can see lines or wrinkles, they need some love too).
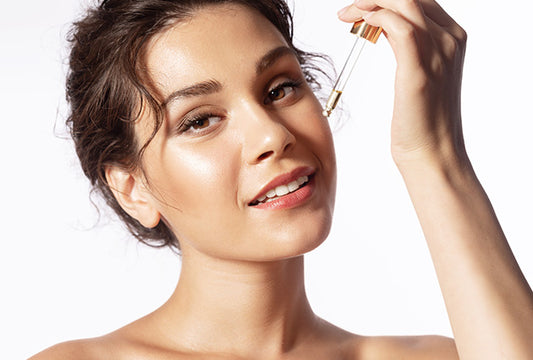
Mask
- Ingredients; The ingredients of your mask are important, as they can affect how well it works and how long it lasts before going bad. For example, the amount of water in a product can affect its shelf life--the more water in a product, the less preservative (or antimicrobial) ingredients are needed to keep it fresh. If you're using something with many preservatives (such as those found in store-bought masks), then it may be more difficult for bacteria to grow inside your jar or container than if you were using something without any preservatives at all!
- How long should I leave this stuff on my face? Most people leave masks on for 10 minutes or so; however, if you have sensitive skin or suffer from rosacea or eczema flare-ups easily then try leaving them on for no more than 5 minutes before removing them with warm water and patting dry gently with a clean towel afterwards. How often should I use these masks? That depends on what kind of results you're hoping for! Some people prefer weekly treatments while others may only need one every few months depending upon their condition. How do I remove this stuff once my 10 minutes are up? Simply wash away gently with warm water!
You Can Have A Spa-Like Facial At Home, But It Will Take Some Work!
You can have a spa-like facial at home, but it will take some work!
Before you get started, make sure you have all your supplies ready:
- A clean towel or cloth for drying your face after each step of the process.
- A hand mirror and light source (a lamp or window) to help see what's going on with your skin as you go through this process. You'll want access to be able to look at both sides of your face at once if possible so that nothing gets missed!
Once that's taken care of, here are 10 steps to follow:
Conclusion
We hope that we've given you a good idea of what it takes to pamper yourself with a facial at home. It's not as simple as putting on some mud and calling it a day, but the payoff is well worth the effort! If you follow these steps and keep your skin healthy with regular facials, then there's no doubt in our minds that you'll look years younger than those around you who don't take care of themselves properly.