Contouring and highlighting are two of the most talked-about beauty trends. It's easy to see why: they're both fun, creative ways to play up your features and get a look that's uniquely yours. But if you're just getting started with contouring, you might be wondering what it actually is or how to do it properly. That's why I've created this beginner's guide for anyone who wants to learn the basics of contouring and highlighting (and maybe even become an expert!).

What Is Contouring?
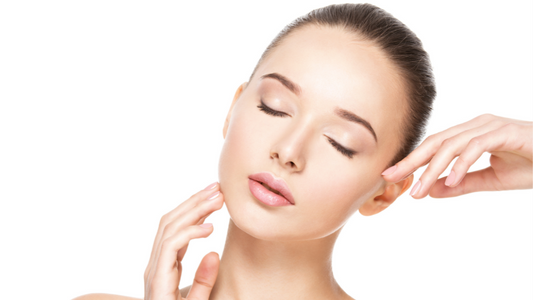
Contouring is a makeup technique that uses shadows and highlights to create the illusion of depth. Contouring can be used to slim your face, define your cheekbones and jawline, or create a more defined nose.
The key to successful contouring is selecting the right products for your skin type and coloration. If you want to achieve an overall slimming effect on your face, use matte foundations that are two shades lighter than your natural skin tone (for example: if you have fair skin with pink undertones in wintertime but tan easily in summer months)
Contouring 101
Contouring is a technique that uses shadows and highlights to create the illusion of depth in the face. It's used by makeup artists to draw attention to certain features, like cheekbones, while minimizing others.
Contouring can be done with either powder or cream products--we'll be focusing on powder here because it's easier for beginners! The general idea is that you want to use darker shades where there are naturally shadows (under your cheekbones) and lighter shades where there aren't any (your forehead). You don't need any special tools for this; just grab whatever brushes you have at home already and go from there!
How To Contour Your Face
Contouring is all about highlighting and shading, so it's important to know where your facial features are. Here's how:
- Find your cheekbones. Look in the mirror, then run a finger along either side of your face until you feel a bone jutting out. That's where you want to place some highlighter powder or cream (more on that later). If you don't see any bones there, try looking in different lighting--the shadows will give them away!
- Find the hollow of your cheek. This area should be shaded with darker colors so that when viewed from above, it looks like it has depth; otherwise known as "shadowing." You can do this by tracing an imaginary line from under each eye down toward where our jawline would be if we had one (which most people don't). Add more shadowing along with other techniques like shading around nostrils and lips if needed!
Contour Tools And Brushes
Contour tools and brushes are essential for creating a sharp, defined contour. Here are the most common ones you'll need to get started:
- Highlighting brush: This is used to apply highlighter on the tops of cheekbones, bridge of nose and cupid's bow (the bottom part of your lip).
- Contouring brush: This can be used for both highlighting and contouring but works best with powder products like bronzer or blush because it's so small. It also helps give more precise lines than a larger brush would allow for when applying product directly onto skin.
- Blush brush: This large fluffy brush should be used only for applying blush--it'll blend out any harsh edges in no time! The size of this one makes it ideal for covering larger areas quickly without looking streaky or messy at all!
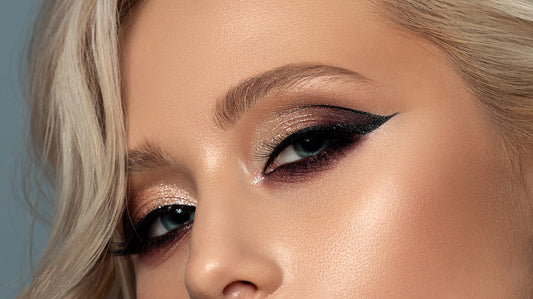
How To Highlight Your Face
In order to highlight your face, you'll want to pay attention to the areas that naturally have more light. These include your cheeks and brow bones.
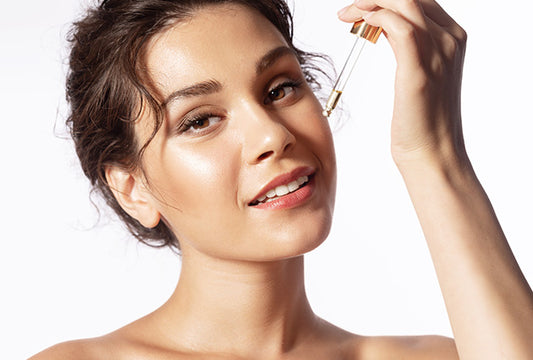
If you're using a cream or powder highlighter: Apply it on top of your cheekbones, under the arch of your eyebrows and on the cupid's bow (the area between your upper lip and nose).
Highlight Tools And Brushes
Your highlighting tool should be a brush with soft bristles. The best ones are fan brushes and stippling brushes, which have densely packed bristles that deliver powder and cream highlights in an even application. You can also use a fluffy powder brush for liquid highlighters if you want to avoid using your fingers or sponge applicator to blend it out afterwards, but these are generally not as effective at blending out the product because they're not as dense or precise.
The Key To A Successful Contouring Routine Is Blending
The key to a successful contouring routine is blending. As you're working with your brush or sponge, make sure that you're going over the same area multiple times so that it's more blended and smooth. You want it to look natural and not like someone drew on your face with a Sharpie.
If you're using fingers for highlight, then use both hands to blend out any harsh lines--one hand for each side of your face--and be sure not to leave any visible streaks behind!
Conclusion
We hope that this guide has helped you understand the basics of contouring and highlighting. It's an art form that can take a while to master, but once you do, you'll be amazed at how much more confident you feel!