Are you struggling to master the art of winged eyeliner? It's time to put your worries aside because we have some simple tips and tricks that will help you achieve the perfect winged eyeliner look. Whether you're a makeup novice or a seasoned pro, these steps will have you rocking a flawless cat eye in no time!

Step 1: Choose The Right Eyeliner
The first step in achieving the perfect winged eyeliner is to choose the right eyeliner. There are multiple options available in the market, including liquid, gel, pencil, and even pen-style eyeliners. Liquid and gel eyeliners are generally recommended for creating precise lines and wings. Pick an eyeliner with a fine tip that you feel comfortable using.
Try Now: All Natural Eyeliner Pencil - Black
Step 2: Prep Your Eyelids
Before you start applying your eyeliner, it's essential to prep your eyelids. Start by removing any excess oil or makeup from the area with a gentle cleanser or micellar water. Next, apply a primer or a thin layer of eyeshadow primer to create a smooth canvas for your eyeliner application. This step will help your eyeliner stay in place and prevent smudging.
Step 3: Map out Your Wings
To create symmetrical wings, it's helpful to map them out beforehand. Take a small angled brush or a thin makeup brush and place it diagonally along your lower lash line, extending it towards the end of your eyebrow. This line will act as a guide for your wing. Repeat the same step on the other eye to ensure both wings are equal in length and angle.
Step 4: Start With A Thin Line
When applying your eyeliner, it's best to start with a thin line along your upper lash line. Begin from the inner corner and gradually make it thicker as you move towards the outer corner of your eye. Keep the line as close to your lashes as possible for a more seamless look.
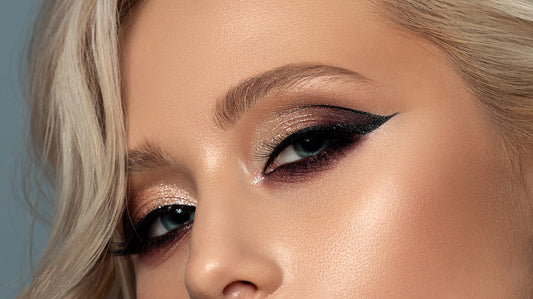
Step 5: Create The Wing
Now it's time to create the wing. Using the guide you created in Step 3, draw a line from the outer corner of your eye towards the end of your brow. The length of your wing will depend on your personal preference. For a more subtle look, keep it short and angled upwards. If you prefer a more dramatic wing, make it longer and extend it further.
Step 6: Connect The Wing
To complete your winged eyeliner look, connect the wing to the thin line you created in Step 4. Start from the end of your wing and draw a line towards the center of your upper lash line. Remember to keep the line as close to your lashes as possible. This step will give your eyeliner a polished and finished appearance.
Step 7: Clean Up Any Mistakes
If you make any mistakes during the process, don't panic! Dip a small angled brush into some makeup remover or micellar water and gently clean up any smudges or uneven lines. You can also use a cotton swab to fix any imperfections. Practice makes perfect, so don't be discouraged if you don't get it right the first time.
Try Now: Organic 2 in 1 Makeup Remover & Cleanser
Step 8: Set Your Eyeliner
To ensure that your winged eyeliner stays in place all day, set it with a matching eyeshadow or a translucent powder. Use a small eyeshadow brush or a cotton swab to lightly dust the powder over your eyeliner. This step will help prevent smudging and keep your wings sharp and defined for longer.
Now, stand back, admire your flawless winged eyeliner, and get ready to rock that stunning cat eye look! Remember, practice and patience are key to achieving the perfect winged eyeliner. Experiment with different liners, angles, and finishes until you find the style that suits you best. Enjoy the process, and have fun experimenting!