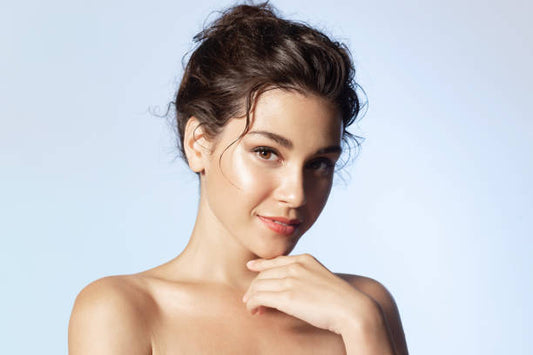

Lip liners are one of the most underrated beauty products.
There is more than meets the eye than simply using a lip liner to trace the outline of your lips. From traditional lip pencils, retractable lip liners to liner-lipstick hybrids, choosing a product that best fits your lifestyle is just the tip of the iceberg. Follow this 6-step lip liner tutorial to master essential lip liner techniques for the perfect pout.


What Does A Lip Pencil Do?
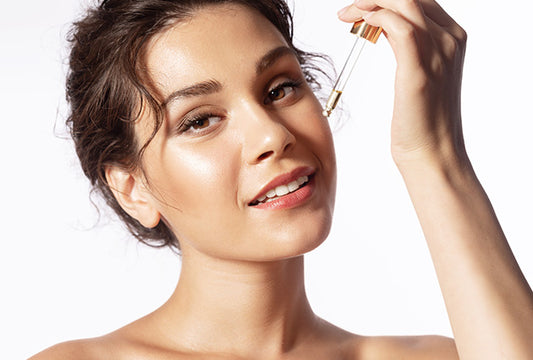
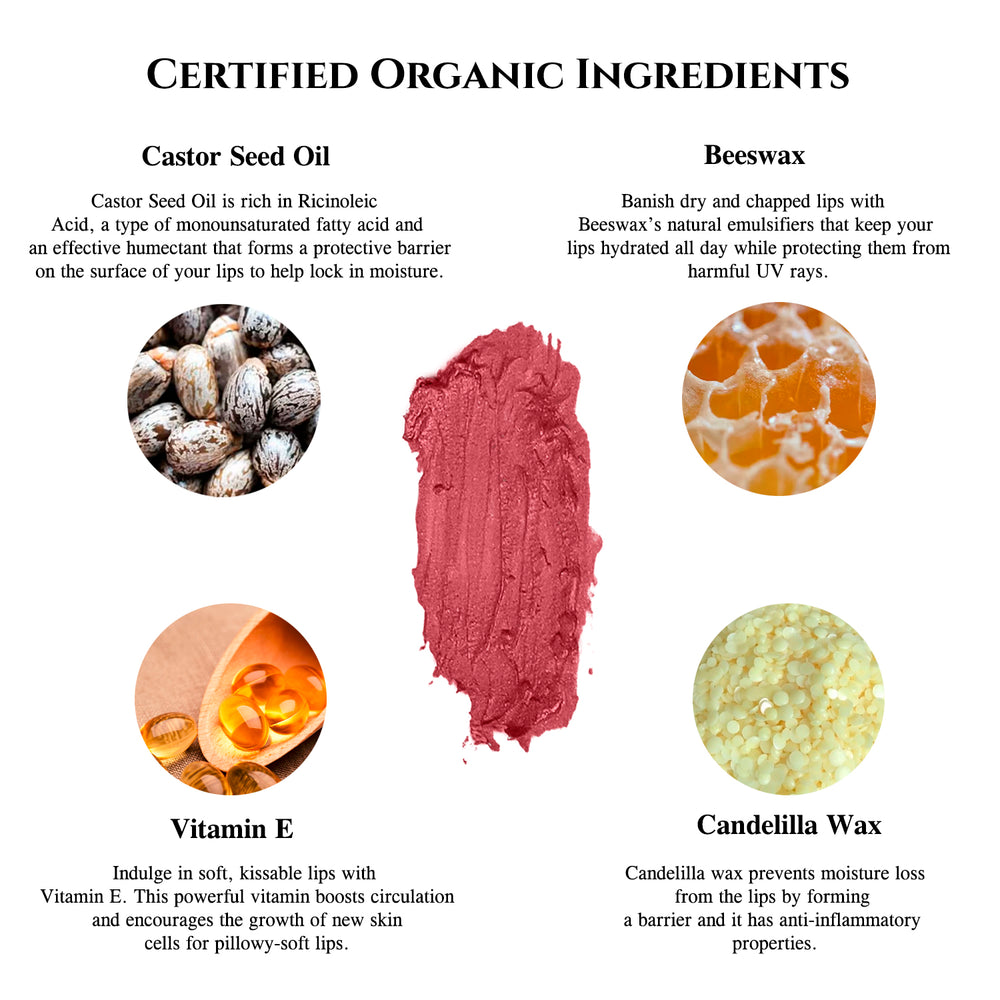
A lip liner deposits color pigments onto your lips to sculpt, shape, fill and create dimension. It creates a barrier between your lip line and skin to prevent lipstick from bleeding and when used to fill in your entire lips, it forms a shield between your lips and lipstick for extra staying power. Freshly sharpened lip liners with thin tips are ideal for defining lip shapes while thicker tips are best for adding volume. Our Organic Royal Lipstick liner-lipstick hybrid is also formulated with many nourishing vegan plant extracts that care for your lips throughout the day.
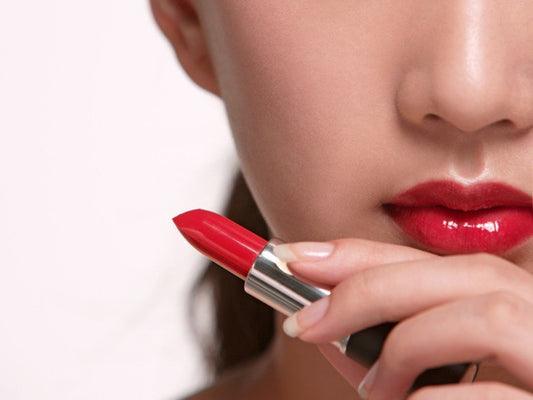
Step 1: Choose The Perfect Shade
When creating a natural nude lip look, consider your skin undertones before settling on a lip pencil shade. If you have cool undertones with blue tints, choose lip liners with mauve or burgundy hues to enhance your complexion. On the other hand, if you have warm undertones, peach or coral lip liners will flatter you the most.
If you wish to create a more sculpted look, a lip liner that is a shade darker than your natural lip color will give your pout a more contoured effect. Otherwise, match your lip liner to your lipstick shade as close as possible for the most natural finish.
Step 2: Exfoliate First
Before applying a lip liner, start by exfoliating your lips with the bristles of a soft toothbrush or a lip scrub to remove dead skin cells. However, avoid exfoliating your lips more than once a week as this may thin out the skin on your lips making it more prone to irritation and dryness.
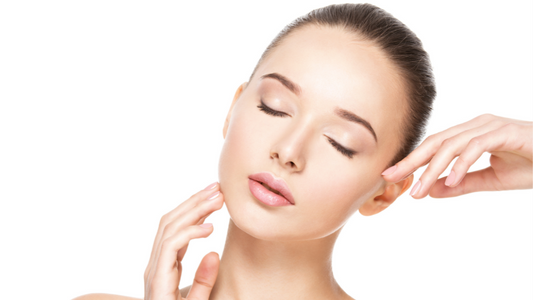
Step 3: Hydrate Your Lips
Use a lip balm and let it sit on your lips for a few minutes before applying a lip liner. On dry and chapped lips, apply a thick layer of lip balm as a lip mask before wiping the excess off with a clean tissue to reveal smooth lips. This hydrating step is essential as it helps to prevent flaking later on. It also plumps up your lips and allows lip products to glide on effortlessly.
Step 4: A Balanced Lip Shape Is Key
Symmetry is the secret to gorgeous lip looks. Follow the natural shape of your lips wherever possible and only over or underline your lips at areas where rebalancing is needed, such as lining the outside of a thin bottom lip. Tracing with shorter strokes will give you more control and help overcome shaky hands.
Step 5: Define Your Cupid’s Bow
The most noticeable part of your lips, draw an ‘X’ on your cupid’s bow to create a symmetrical starting point before following up with lining your top lip outward and toward the corners. You can either draw an “X” by following your natural shape or draw a steeper and slimmer “X” if you want a more dramatic cupid’s bow.
When it comes to skincare-infused makeup, it makes perfect sense to take your skin type into consideration as well when finding the right fit. Luxury by Sofia’s Organic Tinted Moisturizer contains all the skin-loving ingredients mentioned in this article and will work wonders on all skin types.